Introduction
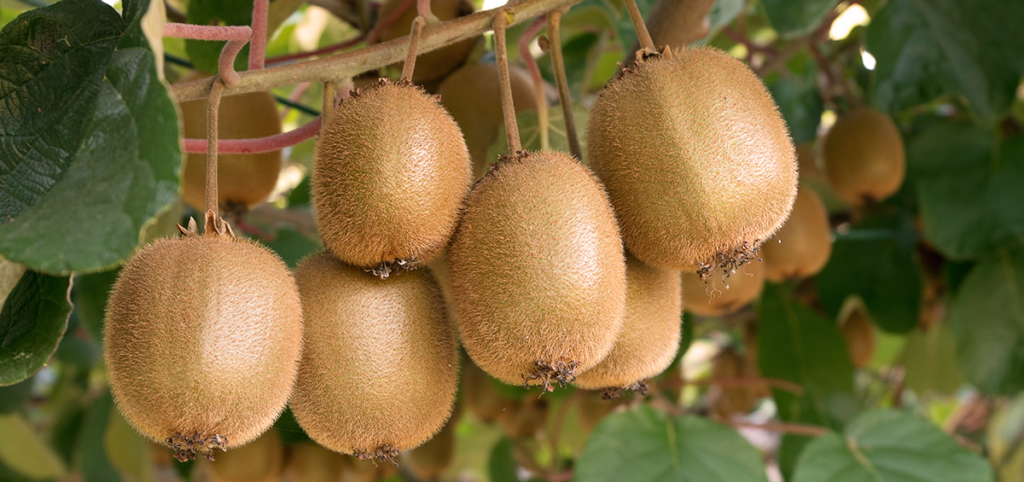
Kiwi, also known as the Chinese gooseberry, is a delightful fruit that is not only delicious but also packed with nutrients. Growing your own kiwi plants in a nursery can be a rewarding experience, providing you with fresh, homegrown kiwis. In this guide, we will walk you through the steps to prepare kiwi plants in your nursery, from selecting the right varieties to caring for them as they grow.
Step 1: Choose the Right Kiwi Variety
Before you start preparing your kiwi nursery, it’s crucial to select the right kiwi variety. There are two main types of kiwis: the fuzzy kiwi (Actinidia deliciosa) and the hardy kiwi (Actinidia arguta). The fuzzy kiwi is the more common variety you’ll find in grocery stores, while the hardy kiwi is smaller and has smooth skin. Some popular cultivars include Hayward, Bruno, and Saanichton 12 for fuzzy kiwis, and Anna, Ken’s Red, and Arctic Beauty for hardy kiwis. Choose a variety that suits your climate and preferences.
Step 2: Gather Your Supplies
To prepare a successful kiwi nursery, you’ll need the following supplies:
Kiwi Seeds or Seedlings: You can start kiwi plants from seeds, but it’s more common to purchase young seedlings from a nursery or garden center.
Well-Draining Soil: Kiwi plants prefer well-draining soil with a pH level between 5.5 and 7.0. You can test and adjust the pH of your soil if needed.
Pots or Containers: Choose large pots or containers with drainage holes for planting your kiwi seedlings.
Trellis or Support System: Kiwi plants are vines and require support as they grow. Install a trellis or support system in your nursery.
Fertilizer: Kiwis need regular feeding, so select a balanced, slow-release fertilizer.
Mulch: Organic mulch can help retain soil moisture and prevent weed growth around your kiwi plants.
Step 3: Planting Kiwi Seedlings
Prepare the Soil: Fill your pots or containers with well-draining soil. Ensure the soil is loose and rich in organic matter.
Plant the Seedlings: Gently remove your kiwi seedlings from their nursery containers and plant them in the pots, ensuring that the root ball is at the same level as the soil surface. Space multiple seedlings at least 10 feet apart if planting more than one.
Watering: Water your newly planted seedlings thoroughly to help them establish their roots.
Add Mulch: Apply a layer of organic mulch around the base of the seedlings to conserve moisture and deter weed growth.
Step 4: Providing Care and Maintenance
Sunlight: Kiwi plants thrive in full sun, so place them in an area with at least 6-8 hours of direct sunlight per day.
Watering: Keep the soil consistently moist, but avoid waterlogging, as kiwi plants are susceptible to root rot. Water deeply when needed, especially during dry periods.
Fertilization: Feed your kiwi plants with a balanced, slow-release fertilizer according to the package instructions, typically in the spring.
Pruning: Pruning is essential to control the growth of kiwi vines and promote fruit production. Prune in late winter or early spring, removing dead or overcrowded branches.
Support: Train your kiwi vines onto the trellis or support system to prevent tangling and encourage proper growth.
Protection: Be prepared to protect your kiwi plants from pests and diseases. Monitor them regularly and take appropriate action if you notice any issues.
Step 5: Harvesting Kiwis
Kiwi plants typically start producing fruit 3-4 years after planting. Harvest your kiwis when they are firm but yield to gentle pressure. Use pruning shears to cut the fruit from the vine, leaving a short stem attached.
Conclusion: Growing kiwi plants in your nursery can be a fulfilling and fruitful endeavor. With the right care and attention to detail, you can enjoy the delicious taste of homegrown kiwis right from your backyard. Remember to choose the right variety for your climate, provide proper care, and be patient, as kiwis take a few years to bear fruit. Happy gardening!
for more info call us at : 7376841090
Visit us: www.maximumplants.com
Get Quote for Gardening services :

